How to Run Ad Creative Testing That Teaches You Why Ads Win
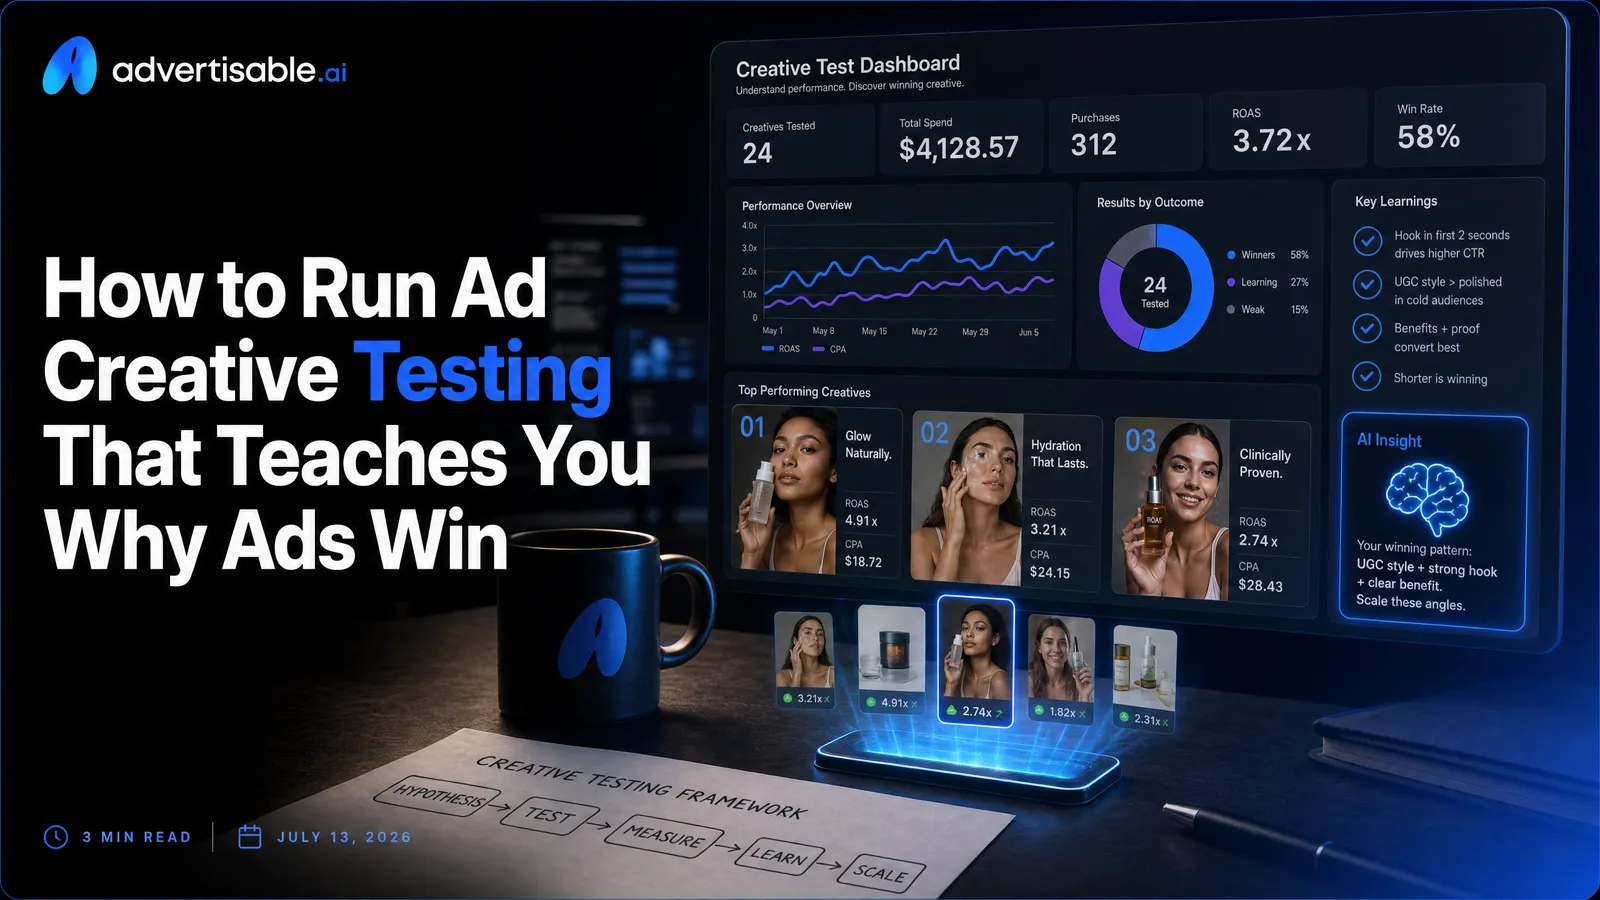
The simplest repeatable framework for ad creative testing is: lock the ad’s creative anatomy, change one variable at a time, and read results in a fixed 48-72 hour window using a thumb stop-to-CTR-to-CVR chain.
Here’s what matters most:
- Define one learning goal per test, not a vague hunt for a single winner.
- Lock the four beats: hook, product moment, proof element, and CTA.
- Test in leverage order: hook first, then body, then CTA.
- Hold everything constant except one variable, or your result is not attributable.
- Pre-set kill and scale rules so you do not rationalize after spend lands.
- Use 48-72 hours as your readout, then follow thumb stop, CTR, and CVR.
- If volume is low, treat the outcome as directional and rerun the same variable.
We built Advertisable AI for this exact production bottleneck: you need enough clean variations to run one-variable batches without off-brand drift. Our Brand DNA Module locks claims and guardrails, our Storyboard Editor keeps the beats consistent, and our Scene Regenerator lets you fix one weak scene without rebuilding the whole video.
Before you touch metrics, you need the right mental model: you are not testing to pick winners, you are testing to learn why ads win so the next batch starts smarter. Let’s start with the reframe that makes every test interpretable.
The reframe: test to learn, not pick winners
Why Mixed Batches Fail to Teach You Anything
Mixed batches tell you which ad won, not why it won. When hook, product moment, proof, and CTA all change at once, you cannot attribute performance movement to a single cause.
Operationally, this creates false certainty fast: you pick the “winner,” then try to reproduce it and fail because you do not know which beat carried the result. You also end up debating taste, not diagnosing a variable.
Treat it like a controlled experiment methodology: hold everything constant except one independent variable, so the dependent metric you care about (thumb stop, CTR, or CVR) has a credible driver.
- Unattributable outcome: multiple changes create multiple plausible explanations
- Non-repeatable production: you cannot generate the next batch with intent
- No clean next action: you do not know what to keep fixed and what to edit
The Four-Beat Creative Anatomy You Keep Constant
For short-form video, we standardize the ad into four beats so you can lock structure and isolate variables: hook, product moment, proof element, CTA. Each beat has a job, and you can test one beat without rewriting the whole ad.
Hook is your first 2 seconds and should make one clear promise. Product moment should appear early, typically 2-5 seconds after the hook, with accurate visuals that match the promise. Proof is one believable credibility cue, not a stack of claims.
CTA is a specific instruction, not a vibe.
- Hook: one promise, one audience, one outcome
- Product moment: early reveal tied directly to the hook
- Proof element: single testimonial, stat, or demo that you can defend
- CTA: clear next step with no ambiguity
Learning Goals Beat Winner Hunting
A “winner” is a short-lived artifact; a learning is an input to your next 10 creatives. You set a learning goal before launch, then you judge the batch on whether it answered that question within a 48-72 hour readout window.
Examples of learning goals that create attributable decisions: “Which hook promise improves thumb stop without hurting CVR?” or “Does swapping one proof element improve CTR while keeping the product moment and CTA fixed?” You are not trying to crown a champion. You are trying to reduce uncertainty per batch.
- Define the single variable you are changing (usually the hook first)
- Define the decision metric chain you will use in order: thumb stop, then CTR, then CVR
- Pre-commit to a next-test action: keep the anatomy fixed, iterate the winning variable, discard the rest
Why most ad creative testing fails in practice
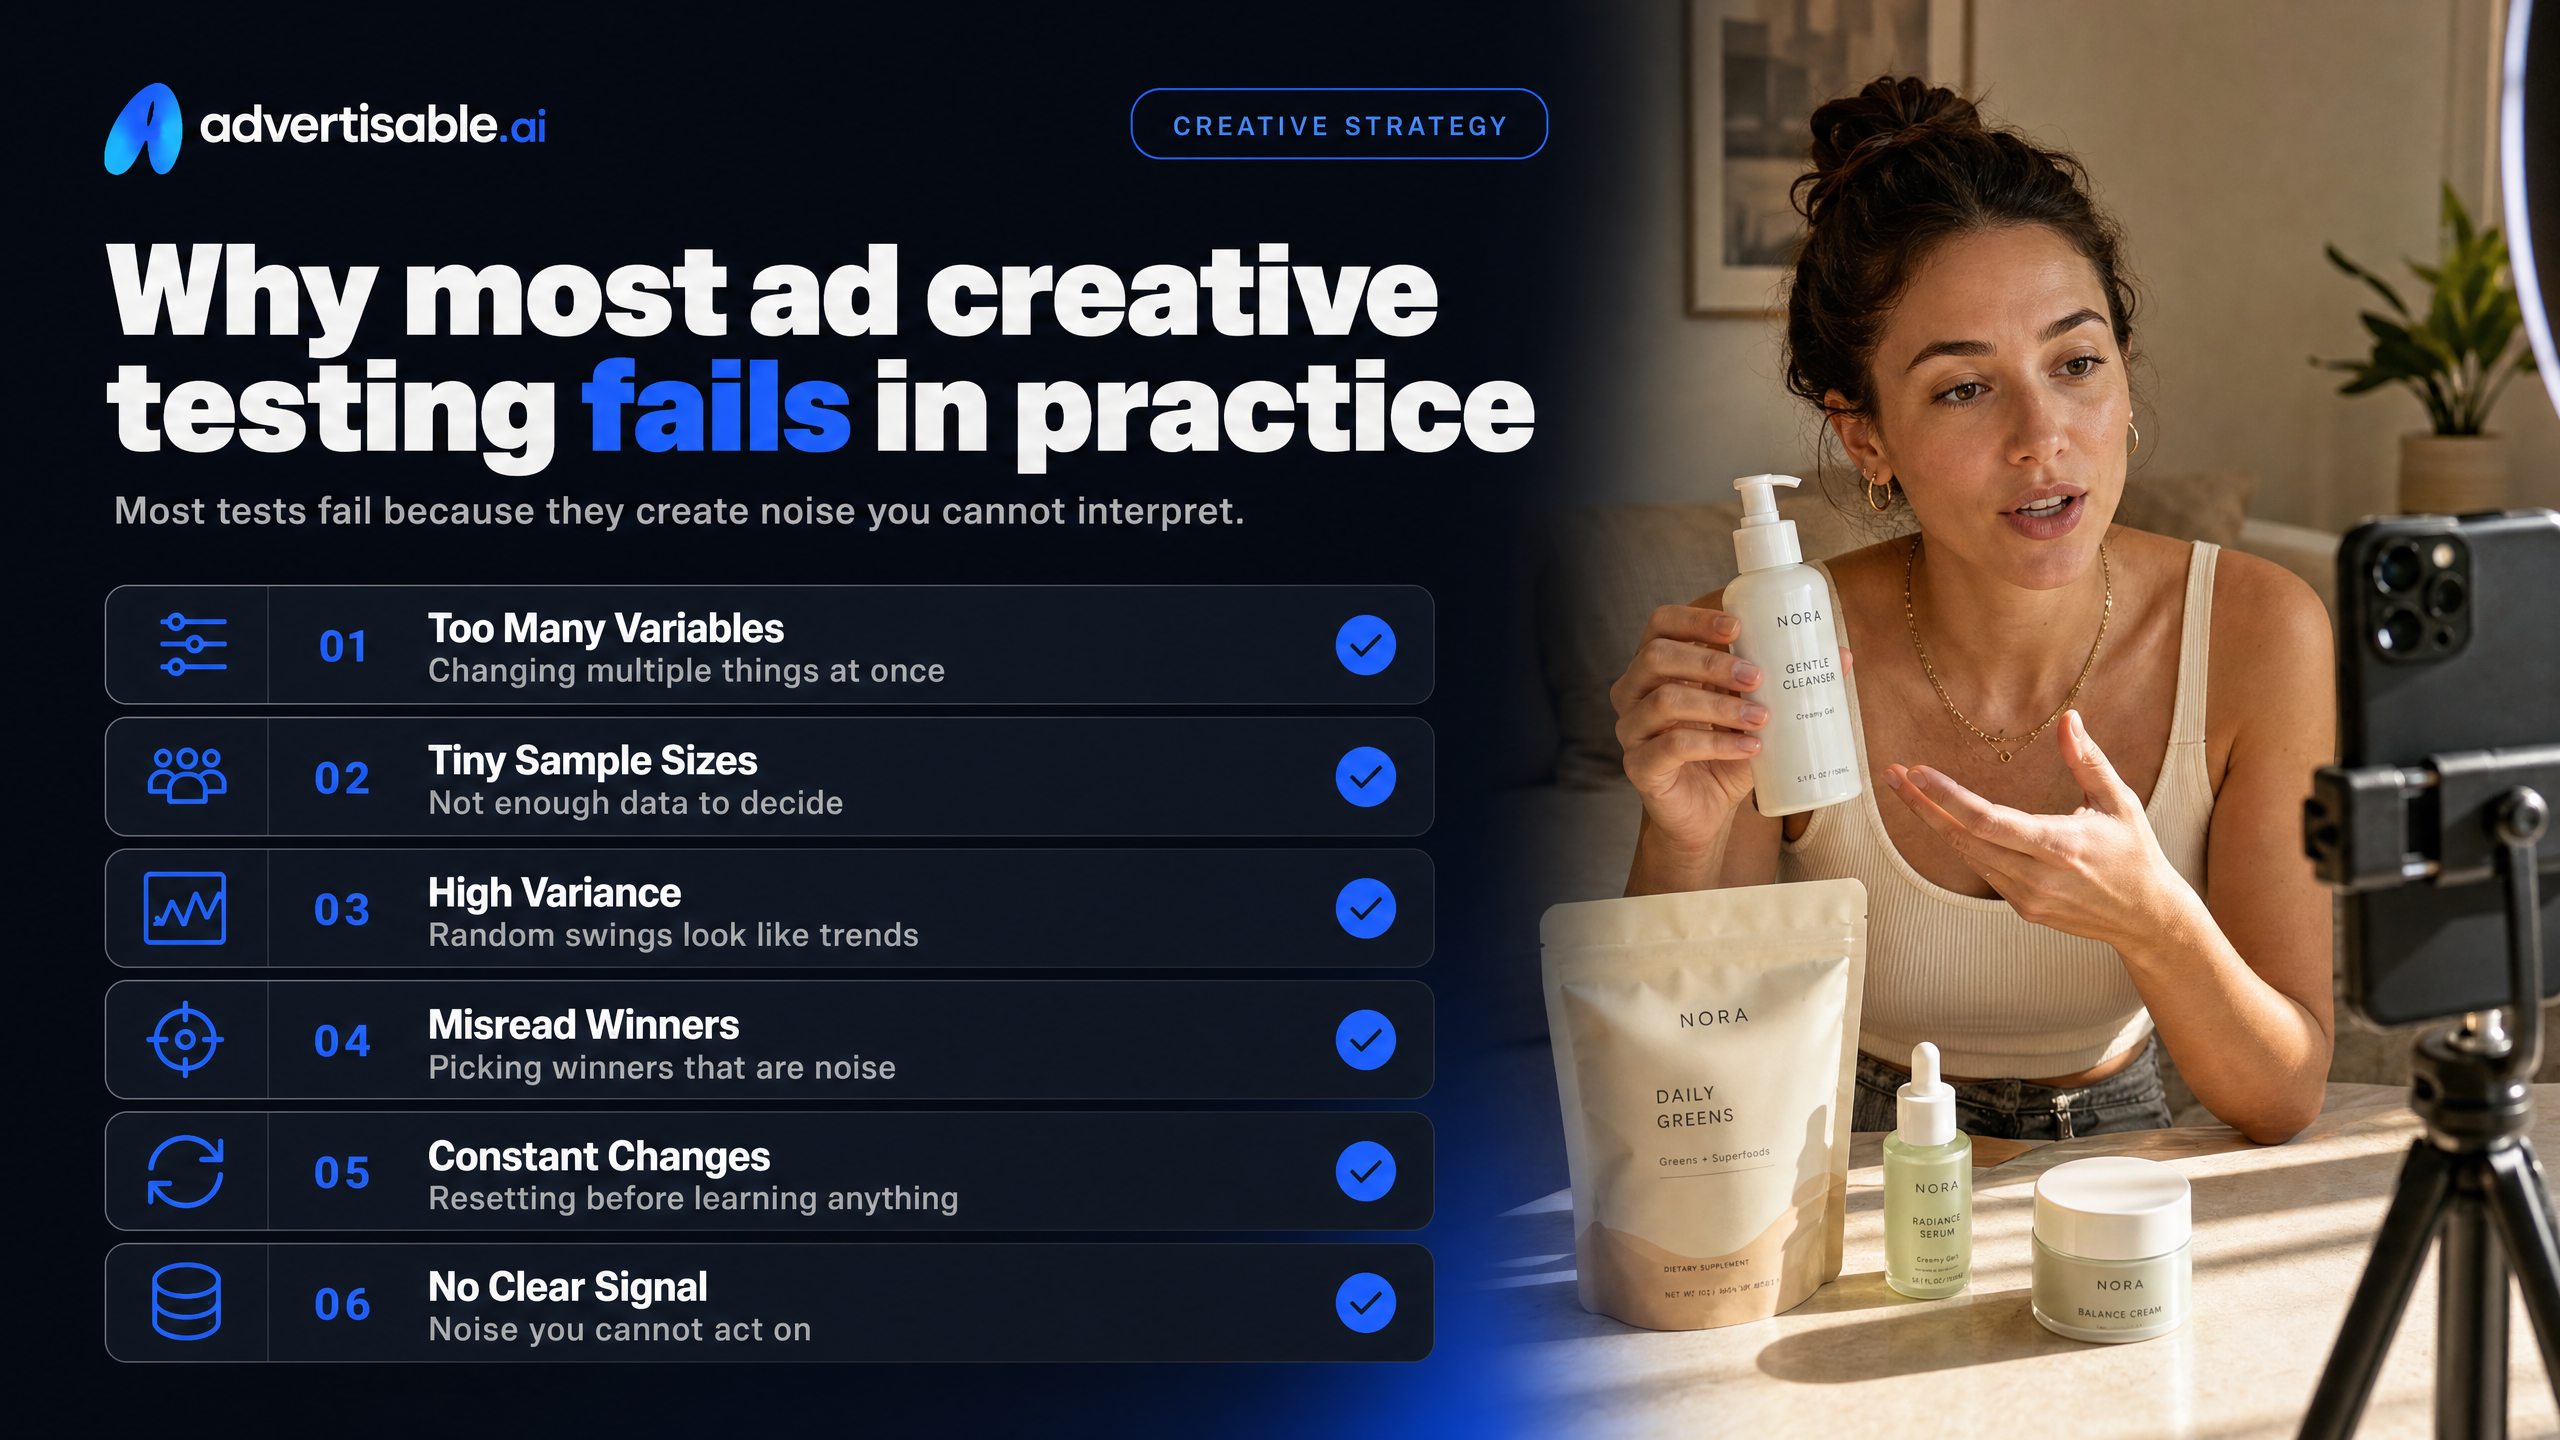
Most “tests” fail because they create noise you cannot interpret. The two biggest drivers are changing multiple creative variables at once and trying to call a winner on too little volume.
Why changing everything at once ruins your learnings
When hook, visuals, proof element, and CTA all change between ads, you can’t attribute performance to any single factor. You get a winner, but you don’t get a lesson you can reuse.
Operationally, this is usually a production problem, not a strategy problem. Without a locked storyboard anatomy, teams ship “totally different” concepts because it is faster than controlled variation, and then the post-test debrief turns into opinions.
A clean creative test keeps three beats fixed and moves one. In practice, we aim for 10-20 variations of a single variable (most often the hook), while product moment (shown within 2-5 seconds), proof element, and CTA stay identical. You read the batch after 48-72 hours so you’re comparing like with like.
- Pre-flight QA: confirm the storyboard beats are identical except the one variable you’re testing
- Scene-level checklist: same offer, same CTA line, same product shots, same on-screen text placement for sound-off readability
- Acceptance criteria: if two differences are required to “make it work,” it is no longer a test, it is a new concept
When low volume creates fake signals
Low volume creates false confidence because a few conversions (or a few misses) can swing results dramatically. You end up “optimizing” toward randomness, then wondering why the next batch doesn’t repeat.
The trap is reading too early or too late. Too early, you react to volatility before delivery stabilizes; too late, fatigue and auction drift contaminate what you think you learned. That’s why we use a fixed 48-72 hour readout window and make the decision rule before launch.
If your budgets can’t generate enough events per variation in that window, shrink the test instead of pretending it is definitive: fewer ads in the batch, fewer variables, and one objective success metric for the test.
This is the same statistical reality described in the biomedical research review: low sample size and low power increase the odds that a “significant” result is a false positive and inflate the apparent effect size.
The testing system: isolate, order, signal, decide
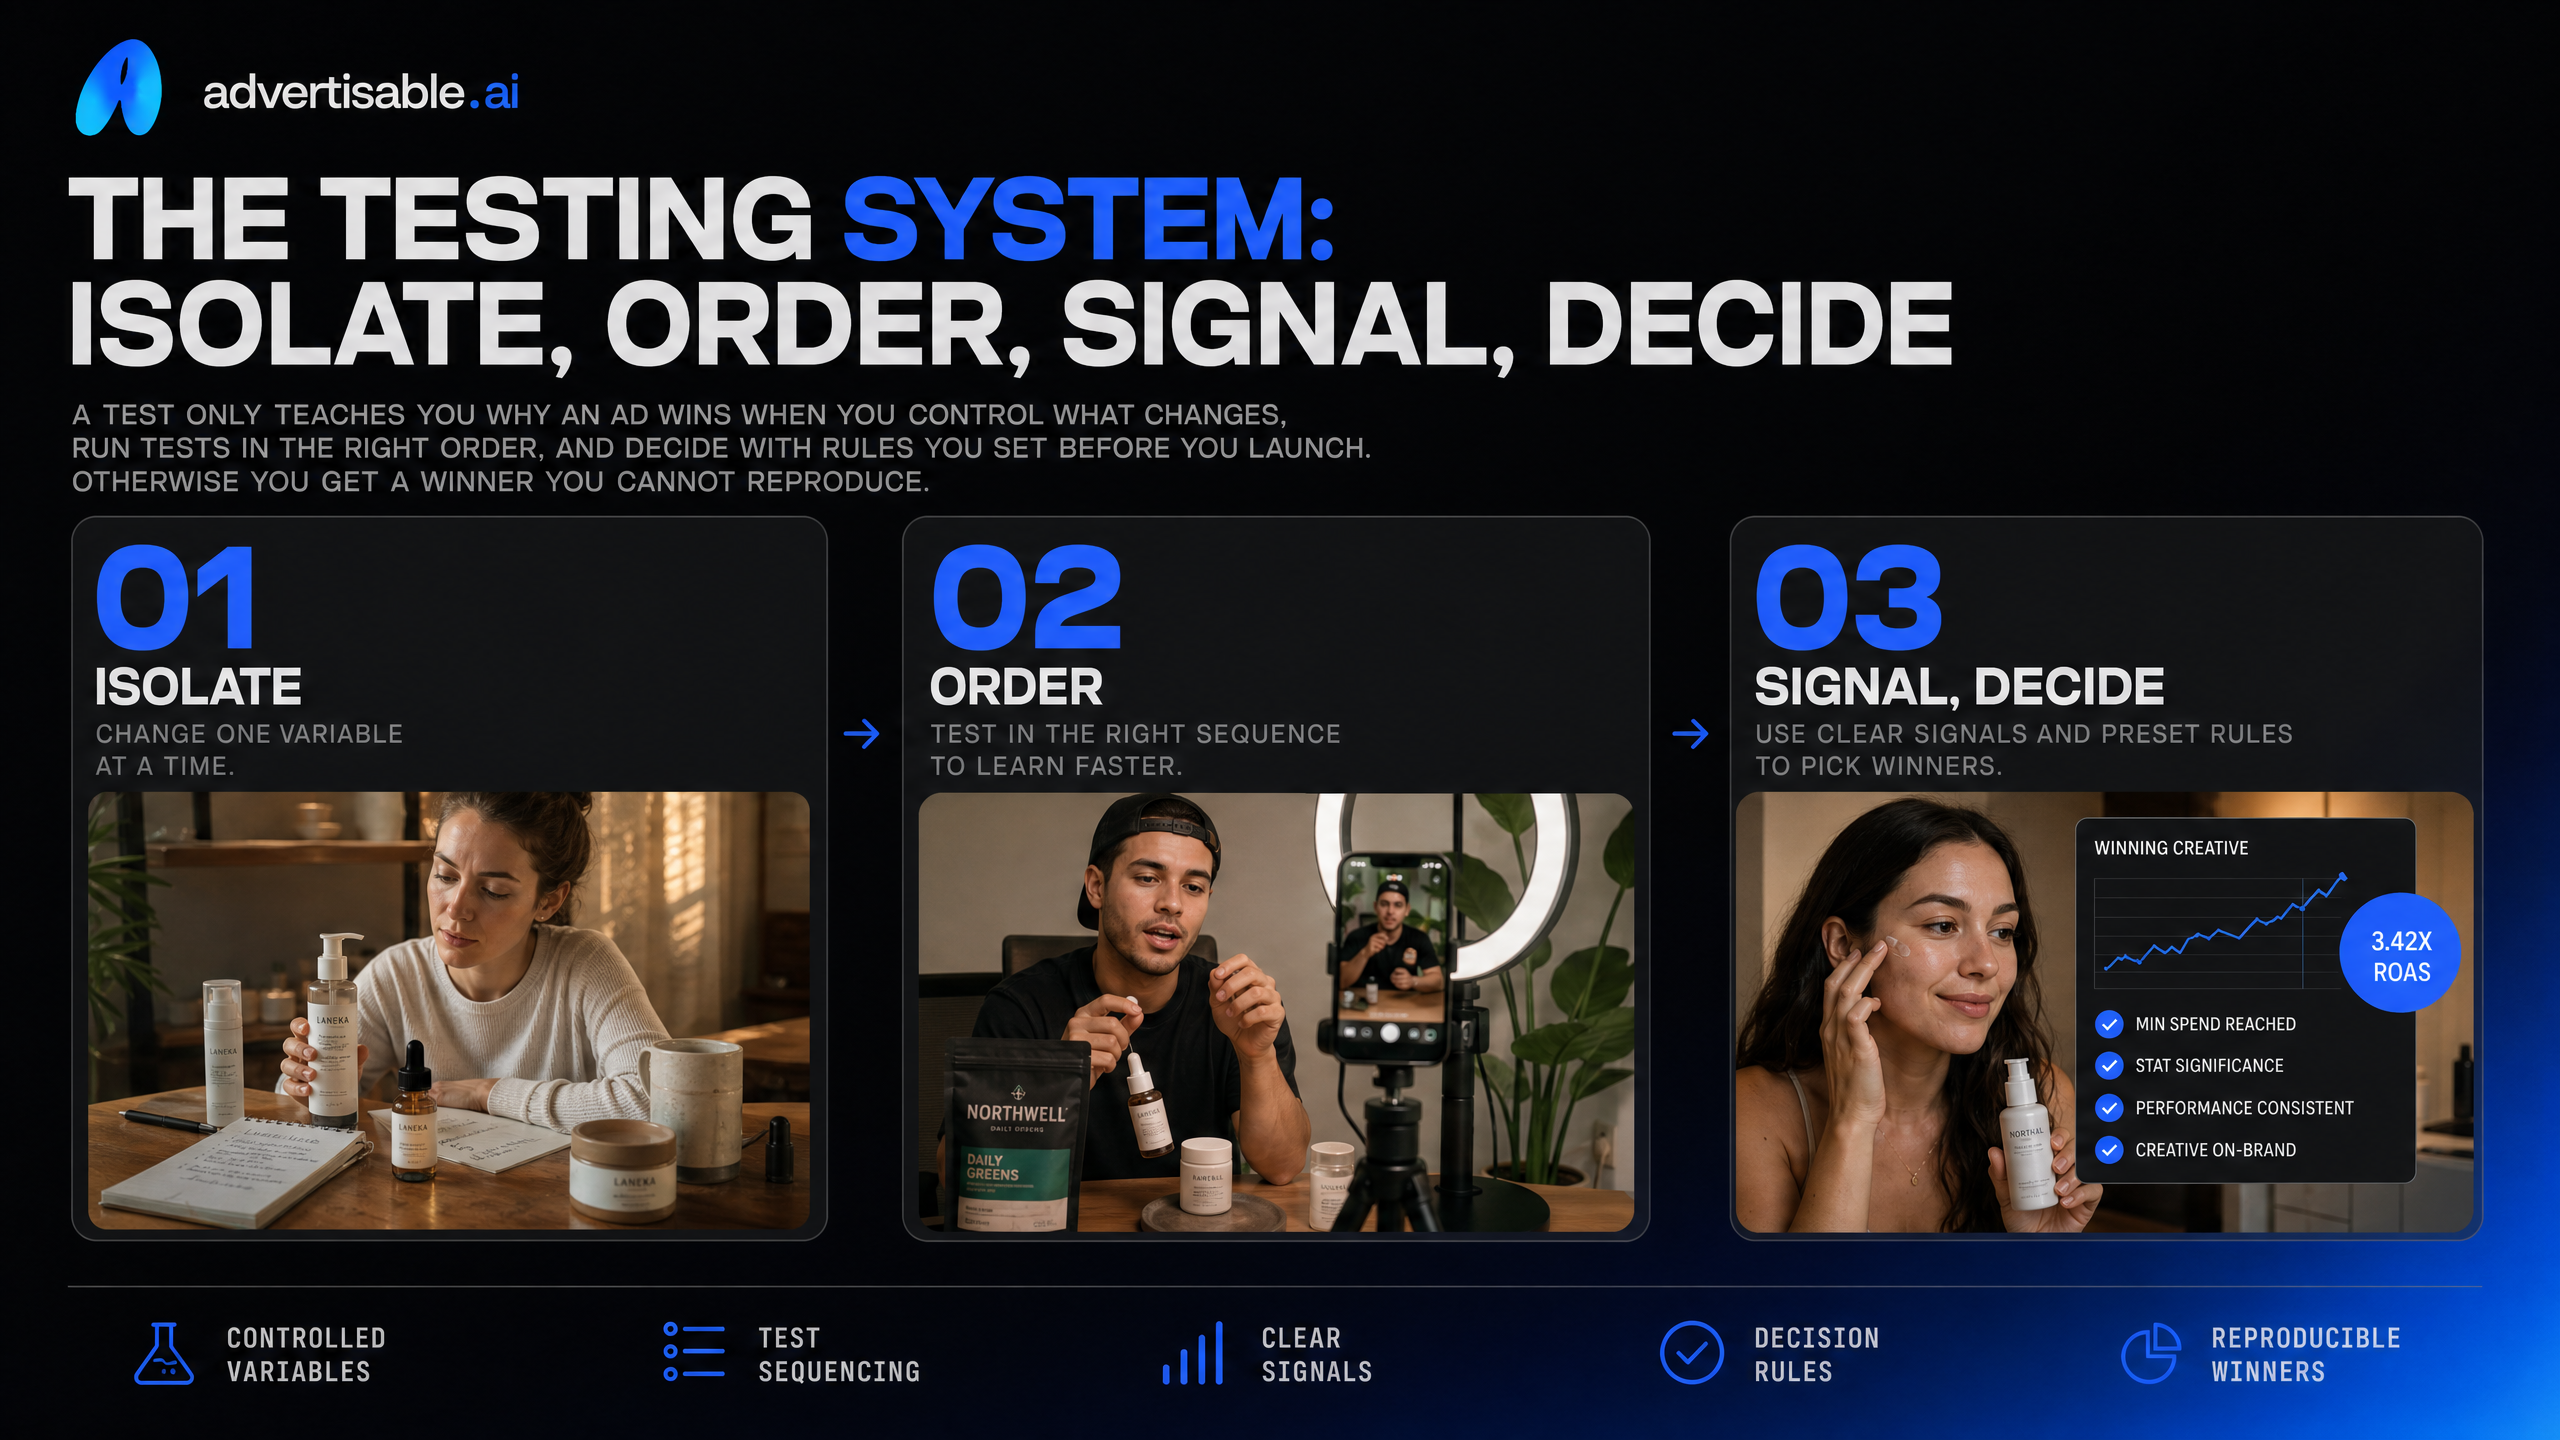
A test only teaches you why an ad wins when you control what changes, run tests in the right order, and decide with rules you set before you launch. Otherwise you get a winner you cannot reproduce.
How Do You Test One Variable Without Breaking Attribution?
Change one variable per batch and hold everything else constant. That is the only way to tie performance movement to a single cause instead of guessing after the fact.
Start by locking a single storyboard that does not change: hook slot, product moment, proof element, and CTA beats stay structurally identical. Then you swap only one component across the batch, most often the first 2-second hook line or visual.
This is basic controlled experiment methodology applied to creative: you manipulate one independent variable while controlling the rest so they do not influence your readout. The tradeoff is realism, but the gain is internal validity, which is what you need to learn fast and repeat.
- Write a hypothesis in one sentence: “If we lead with outcome X in the first 2 seconds, thumb stop will improve without lowering CVR.”
- Lock your constants in a checklist: same offer, same product visuals, same proof element type, same CTA copy, same length, same aspect ratio, same captions and end card.
- Generate 10-20 variations of only the changed scene (for hooks, keep the rest of the storyboard identical).
- QA before export: product facts and claims match the source page, on-screen text is readable sound-off, and the product moment appears within 2-5 seconds.
Test Order: Hook First, Then Body, Then CTA
Test in leverage order: hook, then body, then CTA. The hook controls whether you earn attention, so it is the highest-throughput filter and the fastest way to create a meaningful performance delta.
Run hook-only batches against a fixed body and fixed CTA until you have a small set of repeatable hook patterns that clear your baseline. Then move downstream: test body proof elements and sequencing while keeping the winning hook and CTA constant. Only after that should you test CTA variants, because a better CTA cannot rescue a weak opening.
- Hook tests: new promise, new first frame, new audience call-out, new pattern interrupt (keep product moment, proof, CTA identical).
- Body tests: proof element swap (demo vs testimonial beat), proof placement, objection handling line (keep hook and CTA identical).
- CTA tests: specificity and friction (for example, “Shop the bundle” vs “See shades”), end card layout (keep hook and body identical).
This order prevents you from “optimizing” a later beat when the real issue is that viewers never made it there.
Pre-Set Kill and Scale Rules (So You Do Not Rationalize Results)
Decide your readout window and decision rules before launch, then follow them. We typically use a 48-72 hour window so delivery has time to stabilize and you are not reacting to hour-one noise.
Your rules should tie to a simple signal chain: thumb stop first (attention), then CTR (intent), then CVR (conversion quality). You can accept a CTR win only if CVR does not degrade, because a click that does not convert is usually a message-match problem you just created.
- Kill rule: at the 48-72 hour read, pause any variation that is below your baseline thumb stop and below your baseline CTR, or any ad with a clear CVR drop versus the control.
- Scale rule: only duplicate budget into variants that beat baseline on thumb stop and CTR while holding CVR stable; scale in steps (for example, duplicate into new ad sets or increase budget gradually) rather than making one large jump.
- Next-test rule: when one variable wins, lock it and move to the next beat in the order (hook to body to CTA). Do not “mix in” extra changes mid-batch.
What to test first, and what to hold constant
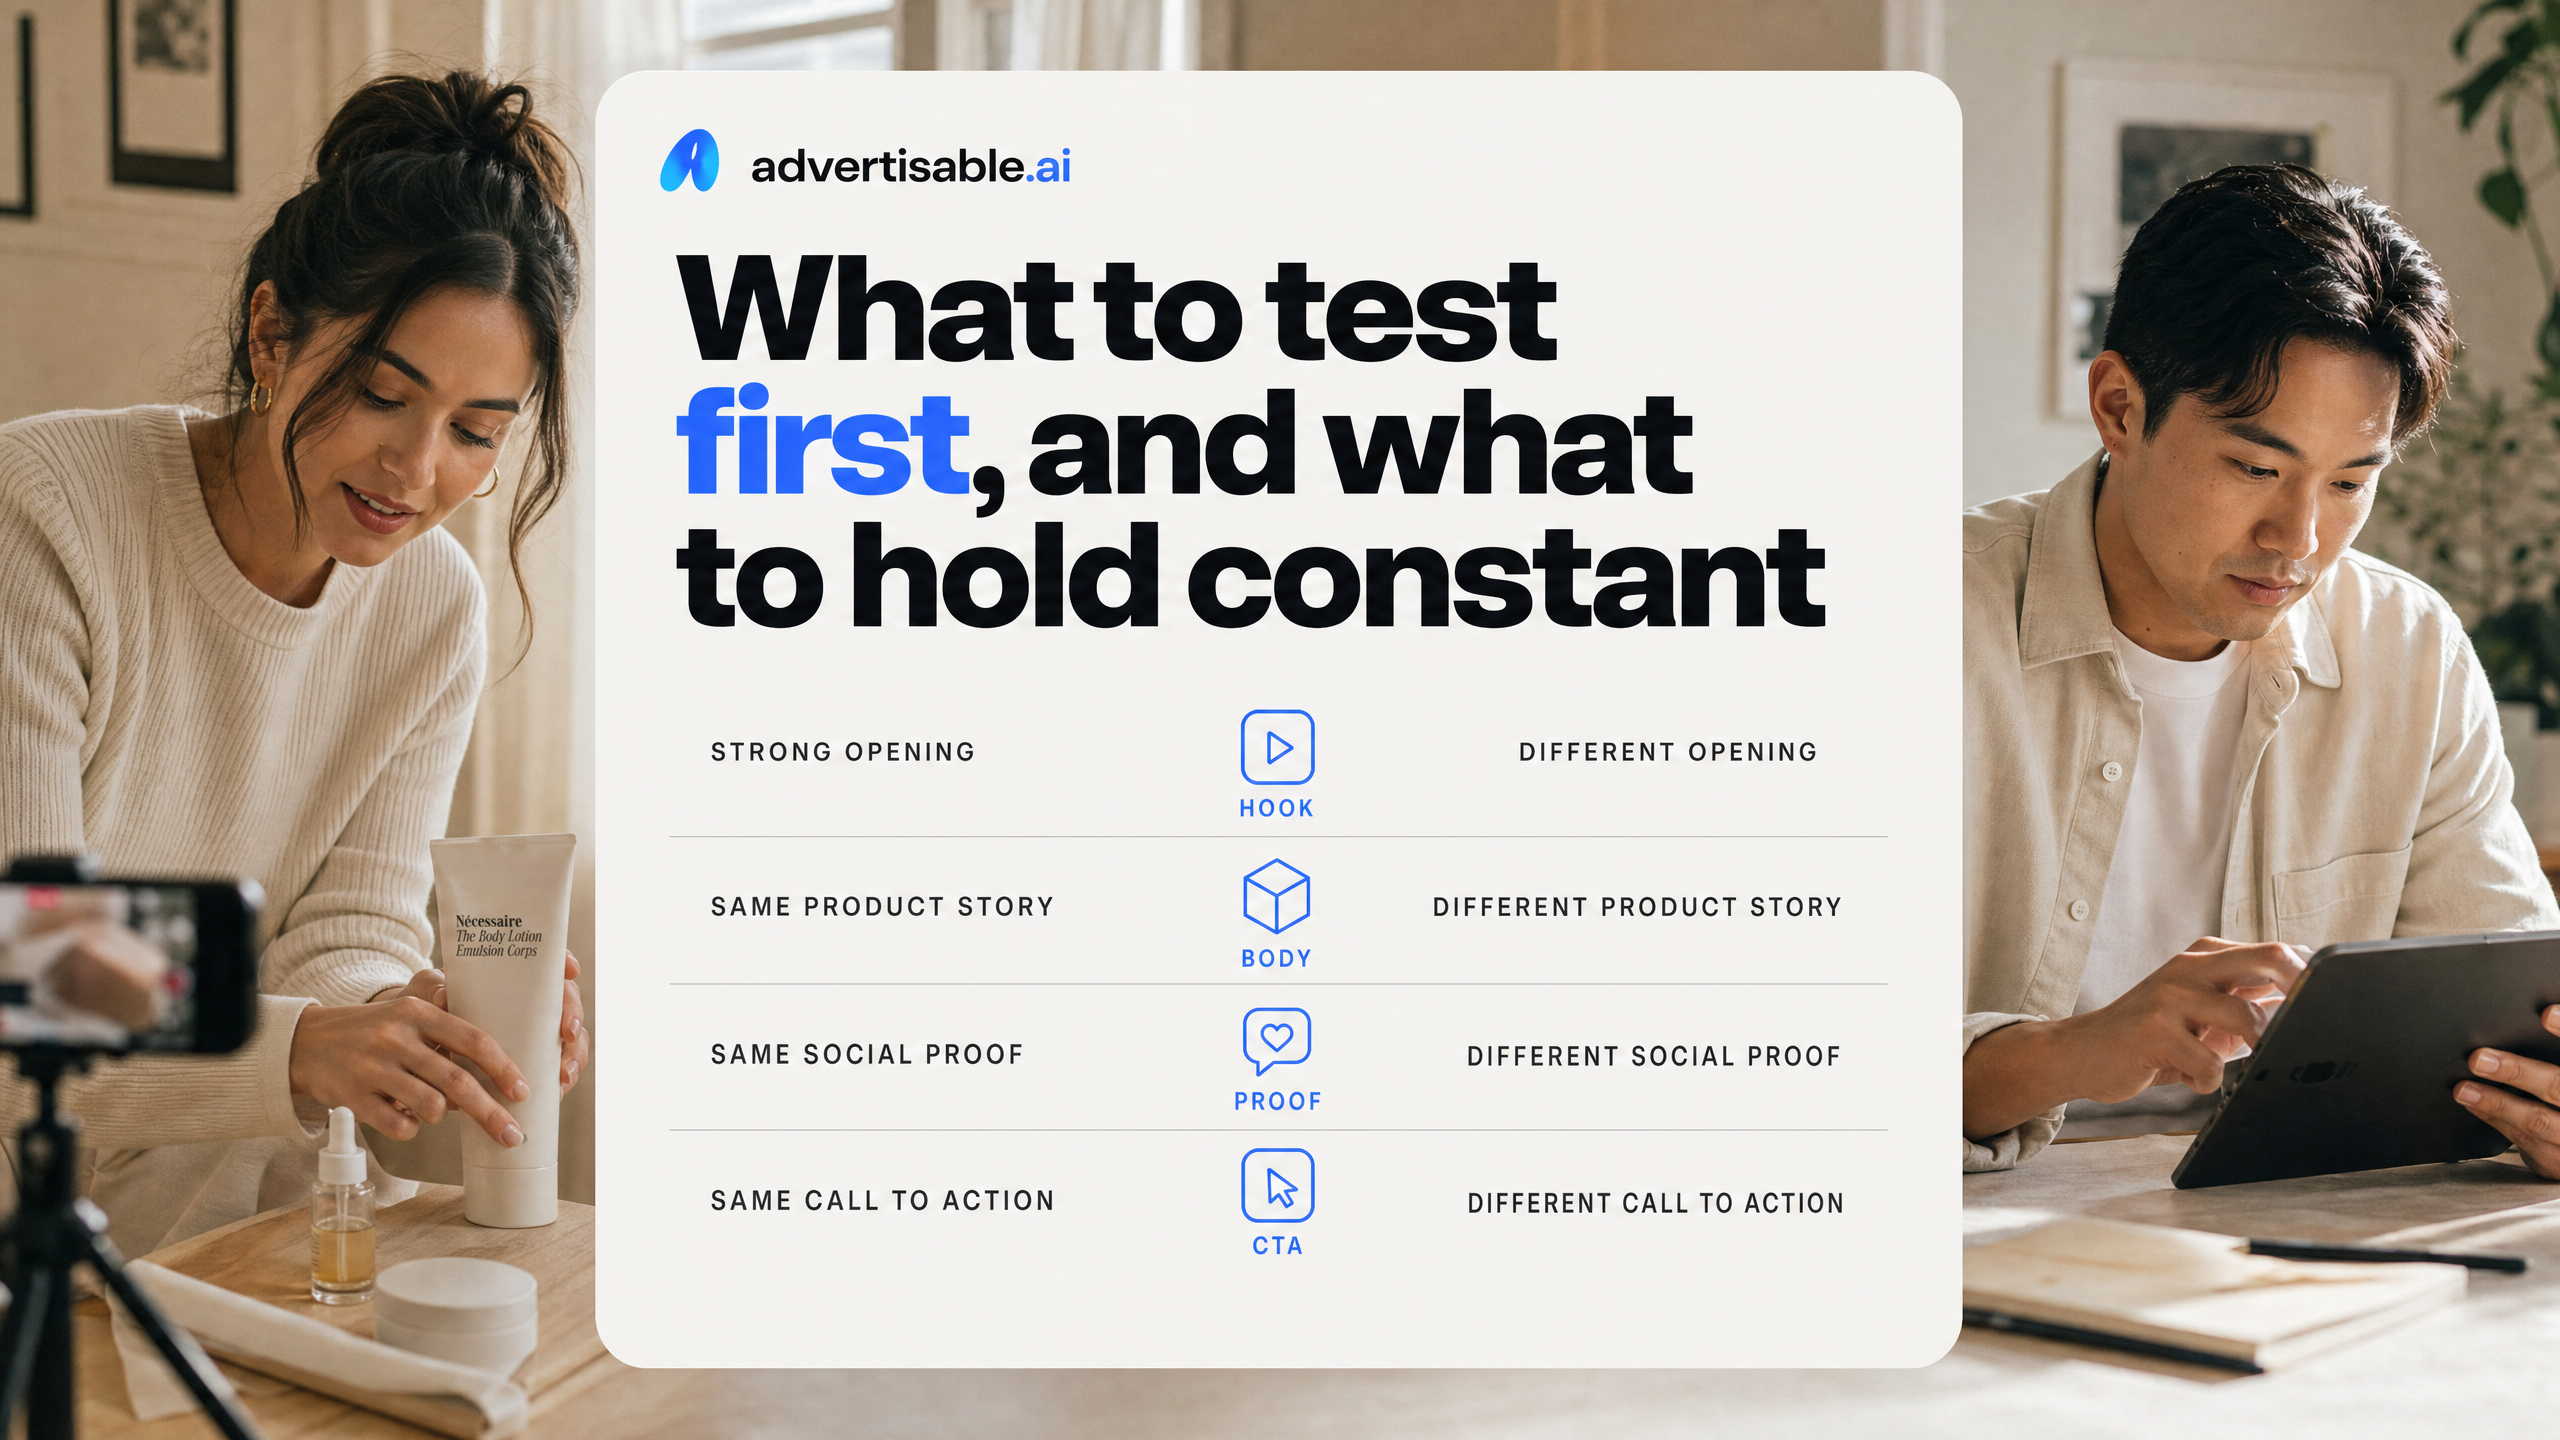
Run your tests in leverage order: hook, then body (product moments), then proof and CTA. Each batch should change one variable and hold the other three beats constant so your readout ties to a single cause.
How do you run hook tests without changing the ad?
Test hooks against an identical body, proof element, and CTA, or you will not know whether the win came from the first 2 seconds or everything that followed. A clean hook batch is typically 10-20 variations with a fixed storyboard and a 48-72 hour readout.
Your controls are non-negotiable: same product moment timing (you show the product within the same 2-5 second window), same on-screen sequence, same offer language, and the same CTA wording. Only the hook line and the first visual framing should move.
This is where hook rate, quantity, and formats connect: you need enough distinct openings to create a real spread in thumb stop, while keeping formats consistent enough that you are not accidentally running a format test.
- Change: first line, first shot, first on-screen text treatment
- Hold constant: scene order, product reveal timing, proof element, CTA, captions style, runtime range
- QA before launch: hook promise matches what the body actually shows, sound-off readability in the first 2 seconds, no new claims introduced in the hook
- Next-test decision: promote the top 1-2 hooks into a second batch; regenerate only the hook scene for the bottom performers
Body tests for product moments (keep the hook fixed)
Once you have a hook that clears your bar, keep it fixed and test the body for the product moment you show and how fast you earn belief. The goal is to improve conversion quality without inflating results with a fresh hook.
Treat product moments as scene-level swaps: same hook, same proof beat, same CTA, but you change the demonstration angle, the sequence, or the clarity of the product reveal. Run one body variable at a time and read after 48-72 hours so you can see whether CTR and CVR move together or split.
- Test: earlier vs later product in hand (within the same 2-5 second window), demo vs lifestyle shot, single-use case vs before-after sequence
- Hold constant: hook line and opening shot, proof type and wording, CTA wording, offer details, length
- Acceptance criteria: product is unmissable, visuals support the hook promise, no invented features
- Kill rule: if CVR drops while thumb stop improves, the body is likely misaligned with the promise
Proof and CTA tests without introducing new claims
Test proof elements and CTAs last, and do it without adding new claims. When you change proof or CTA, you are tuning credibility and action clarity, not rewriting what the product does.
Keep the hook and product moment locked, then rotate proof formats (testimonial line vs stat you can substantiate vs demo result) and CTA specificity ("Shop now" vs a specific next step) in separate batches. Mixing proof and CTA changes in the same set makes it hard to attribute whether trust or instruction caused the lift.
- Proof tests: single testimonial sentence vs product demo as proof vs one approved metric (no stacking)
- CTA tests: same offer, different action language (Get Yours vs See shades vs Start free trial)
- Hold constant: hook, product moment scenes, claim set, price/offer terms, brand guardrails
- QA: every proof line is defensible from your approved product facts; CTA matches the landing page action
Reading results in 48-72 hours without fooling yourself
How to read the thumb stop to CTR to CVR chain
In the first 48-72 hours, you only trust results when the funnel signals agree: thumb stop tells you the hook worked, CTR tells you the promise earned a click, and CVR tells you the click matched reality on the landing page. One metric spiking alone is usually a mismatch, not a breakthrough.
Read it as a chain of responsibilities across the creative beats. Thumb stop is mostly the hook. CTR is hook plus early product moment clarity.
CVR is proof element plus claim discipline plus CTA alignment with the offer and page.
A clean readout uses your pre-set window (48-72 hours) and compares variants that share the same body, proof, and CTA so you are not attributing a conversion swing to the wrong change.
- High thumb stop, low CTR: hook pattern is interesting, but the promise is vague, the product reveal is late (past 2-5 seconds), or the on-screen text is not sound-off readable.
- High CTR, low CVR: the click is curiosity-driven, but proof is weak, claims are stretched, pricing or offer is unclear, or the CTA implies a different next step than the page delivers.
- Low thumb stop across the batch: you do not have an attention problem in the middle of the ad; you have a hook problem.
Kill fast, iterate the weak beat
Your rule is simple: kill the ad when the chain breaks, then regenerate only the beat responsible for the break. Waiting for more data rarely fixes a structural issue inside the first 48-72 hours; it just spends more budget proving the same point.
Keep production control tight. Lock the storyboard anatomy, then change one scene at a time: hook, product moment, proof element, or CTA. That discipline is the difference between learning and rationalizing.
Scene-level control matters here. In our workflow, you do not rebuild the whole video to fix a weak hook or an unclear offer; you swap the scene, keep everything else constant, and re-run the batch.
- Break at thumb stop: iterate hook only (first 2 seconds), keep product moment, proof, CTA identical.
- Break at CTR: iterate the hook-to-product handoff (earlier product reveal, clearer on-screen promise), keep proof and CTA identical.
- Break at CVR: iterate proof element or tighten claims and CTA specificity, keep hook and product moment identical.
Scale winners without changing variables
When you have a winner, scaling means increasing budget and distribution while keeping the exact creative variables fixed. The fastest way to lose the lesson is to “clean it up” by changing the hook line, swapping proof, and editing the offer at the same time you increase spend.
Treat scaling as a QA-controlled promotion: same storyboard, same claims, same CTA, same export specs, and the same landing page expectation. Make only operational changes (budget, placements, geos) until performance stabilizes.
If you need more volume, duplicate the winning hook into a new controlled batch where only one downstream beat changes. Advertisable AI supports this by locking Brand DNA and regenerating at the scene level so your scaled variants stay consistent while you keep attribution clean.
- Freeze the winner: do not touch hook, proof, CTA, or format while you increase budget.
- Run a single-variable “expansion” batch: same winning hook, test 1 proof element variant at a time or 1 CTA variant at a time, not both.
- Do a pre-launch QA pass: claims match the page, product moment is accurate, and the first 2-5 seconds show the product clearly.
Turn your next test into a repeatable learning loop
If your last batch told you which ad won but not why, the fix is production control. We keep the creative anatomy locked, then move one variable at a time so the readout is attributable.
Use Advertisable AI to run the workflow end to end. Start with your product URL, lock your Brand DNA guardrails, and build a storyboard-first baseline in the Storyboard Editor. Then generate a 10 to 20 hook-only batch using the One-Variable Testing Framework while the product moment, proof element, and CTA stay constant.
After your 48 to 72 hour readout, use Scene Regenerator to change only the weak beat and rerun the same test.
Your next step: start the $5 3-day trial, pick one hook hypothesis, and ship a clean batch - deciding your kill vs scale rule before you launch.
Frequently Asked Questions
Q: What is ad creative testing?
A: Ad creative testing is how you isolate which creative choices are driving results by comparing controlled variations. To learn why something works, you hold the storyboard anatomy constant and change one variable per batch, then read performance after a fixed window.
Q: What are the 5 elements of an ad?
A: For short-form performance creative, we focus on four core beats: hook, product moment, proof element, and CTA. A practical fifth element is the guardrail layer: the Brand DNA rules that keep claims, visuals, and tone consistent across every variation.
Q: How fast can I iterate and see results?
A: Plan for a 48 to 72 hour readout per one-variable batch so delivery and downstream conversion data have time to stabilize. With scene-level control, you can iterate by regenerating only the hook or another weak scene instead of rebuilding the entire video.
Q: Will my ads stay on-brand if I generate 50+ variations?
A: Yes, if you lock Brand DNA before you generate anything and enforce it as a non-negotiable constraint. Then you QA each output against required claims, required product visuals, and sound-off readability before exporting.