How to Make a Product Photo to Video Ad
You are not stuck because you only have one product photo. You are stuck because most photo-to-video approaches fail the two checks that matter in paid social: they look generic on scroll, or they drift off-brand and get flagged in QA.
Here’s what actually makes one product photo shippable as a video ad:
- Treat CTR and QA pass rate as the objective metrics, not “realism.”
- Lock Brand DNA first so colors, specs, and claims stop drifting.
- Approve a storyboard before rendering to avoid wasting cycles on bad structure.
- Cover the ad beats: hook, product visuals, proof elements, offer, and a clean CTA.
- Create clean A/B tests by regenerating only scene one while holding everything else constant.
- Run single-variable batches and take 48-72 hour readouts before scaling spend.
- Export in 9:16, 1:1, and 16:9 so each platform gets a native-ready asset.
Before you touch prompts or rendering, you need to stop waiting for a shoot and address the two failure modes that kill performance and stall approvals, because one photo usually fails for predictable reasons you can fix upstream.
Stop waiting for a shoot and fix the two failure modes
You do not need a new shoot to ship. You need repeatable control over two things that kill photo-to-video performance: generic creative on scroll, and off-brand or inaccurate outputs that fail QA.
Why does one photo fail in practice?
One photo fails because it forces the model to invent everything you did not specify: context, motion, proof, and even claim phrasing. That is where “looks like every other ad” and “QA flagged it” both come from.
In paid social you are optimizing for two different outcomes at once. Video often earns attention better, but it also introduces more surfaces for errors. 2026 Meta ad performance data shows higher ad recall lift for video (12.5 points vs 7.8 for static images), while static images can win efficiency in tight CPA conversion campaigns because they communicate faster.
With only a single image, you typically see two practical breaks: the hook becomes interchangeable (CTR drops), or the output drifts (colors, packaging details, or claims) and you spend cycles re-rendering instead of testing.
- Generic-on-scroll: same opening line, same pacing, same visuals as your category competitors
- Brand drift: wrong colorways, logo placement, packaging details, or tone relative to your guidelines
- Claim drift: benefits or specs that do not match the product page, triggering QA blocks
- No controlled iteration: every change forces a full rebuild, so you stop testing after 1-2 attempts
The control-first workflow that ships
The workflow that ships is storyboard-first, single-variable batches, and scene-level fixes with a 48-72 hour readout. You lock what must not move (brand and claims), then you test only what should move (hook, proof, offer).
In Advertisable AI Product Ads, we start from the product URL so Brand DNA extraction pulls packaging, specs, and approved claims into guardrails. You approve the storyboard before you render, so you are not paying for structure you already know is wrong.
Your acceptance criteria is simple: every scene is on-brand, every claim matches the product page, and the test plan changes one thing at a time so results are interpretable.
- Lock constants: Brand DNA (colors, voice), product visuals, and allowed claims/specs
- Approve storyboard: hook, benefit, proof, offer, CTA before rendering
- Render V1, then create a batch of 3 hook variants by regenerating only scene 1
- Swap proof or offer by regenerating only that scene, holding the rest constant
- QA gate before export: packaging accuracy, claim match, legibility on mobile, and CTA present
- Decide next test within 48-72 hours: keep structure, change hook; or keep hook, change proof
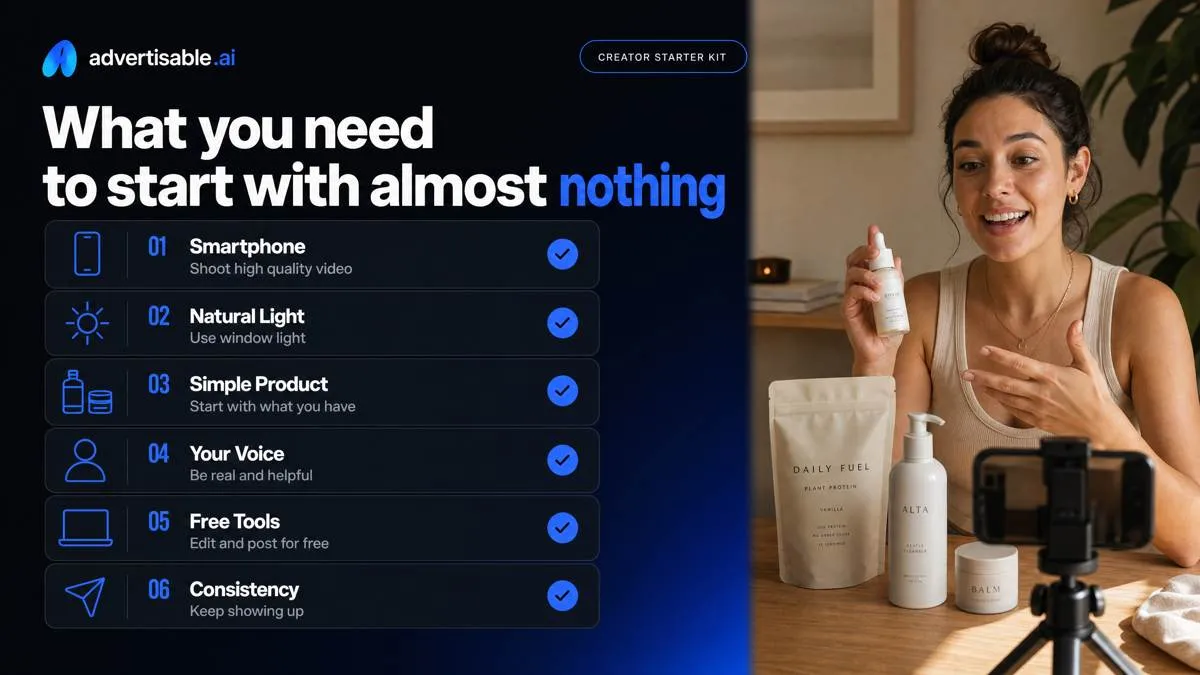
What you need to start with almost nothing
A packshot checklist that holds up in paid social
Your packshot only needs to do one job: make the product unambiguous in the first second, at 9:16, on a phone. That means clean edges, readable labels, and consistent brand color, not “cinematic” lighting.
We treat packshots like a QA asset. You lock what must stay constant, then build variations around it without redoing the core visuals.
- Resolution: at least 1080 px on the shortest side; no soft focus on the label
- Framing: product fills roughly 60-80% of the frame with safe margins for captions/UI
- Background: plain, high-contrast (white, light gray, or brand color), no clutter
- Lighting: even, no harsh hotspots on glossy packaging; no deep shadows hiding shape
- Label legibility: product name and primary claim readable when viewed at ~25% size
- Angles: 1 front hero + 1 secondary (30-45 degrees) + 1 detail crop (claim panel or key feature)
- File hygiene: consistent naming (SKU_angle_version) so scene swaps stay controlled
Use the product page as truth (for claims and visuals)
Your product page is your ground truth for what you are allowed to show and say. Treat it as the spec doc for packaging, ingredients/features, and any claim language that must not drift during generation.
Operationally, pull facts from the page once, then hold them constant across a single-variable batch. In Advertisable AI Product Ads, you paste the product URL to extract packaging, specs, and claims into Brand DNA guardrails, then QA each scene against the same source before you export.
- Lock: product name, variant/flavor, size/count, and exact claim phrasing that appears on-page
- Reject: any generated benefit that is not explicitly supported by the page copy
- QA gate: label text matches the page images; offer/price only if it is on-page and current
- 48-72 hour readout rule: change one thing (usually the hook scene), keep the rest identical
What you do not need to start
You do not need a full shoot, a creator pipeline, or complex editing software to get to shippable variations. You need one clean packshot set, a truthful product page, and a storyboard you can approve before rendering.
Avoid spending on inputs that reduce control. The fastest path is predictable: storyboard-first, then scene-level fixes, then exports in 9:16, 1:1, and 16:9.
- A studio setup, expensive lights, or a large prop kit
- Live-action talent or influencer outreach to begin testing angles
- Frame-perfect photorealism (it is not the KPI); accuracy and readability are
- Dozens of new photos per iteration (regenerate the weak scene instead)
- Long editing timelines before you have a winning hook
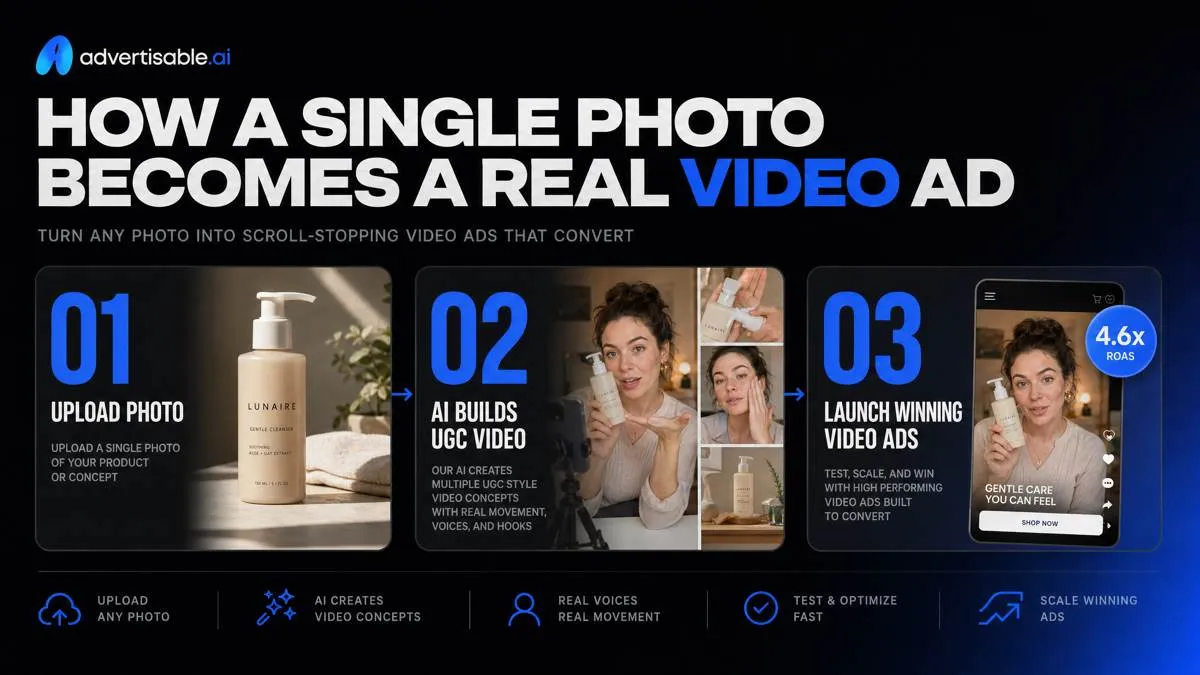
How a single photo becomes a real video ad
Ad beats you must cover
A single photo becomes a usable ad when you force a predictable sequence of beats, not when you chase photoreal motion. You are building a 15-30 second decision path with clear checkpoints you can QA and iterate.
We keep the structure stable, then run single-variable tests (usually the hook) with a 48-72 hour readout so you can make a clean next-test decision.
- Hook (0-2s): one specific promise or offer tied to the product
- Problem or context (2-5s): what situation the product is for, in plain language
- Benefit (5-10s): one primary outcome, not a list
- Proof (10-13s): rating, testimonial line, or spec pulled from the product page
- Offer and CTA (13-20s): price/discount if it exists on-page, plus the action you want
This beat map is your control surface: you can swap one beat without accidentally changing the rest of the experiment.
Scenes built around the real product
Your scenes should be built around extracted product visuals and on-page facts so the ad stays recognizable on scroll. A viewer should see packaging, label, or a hero angle in the first 3 seconds, even if the rest is stylized.
In Advertisable AI Product Ads, we start from the product URL so packaging, specs, and claims are available at the storyboard stage. You then regenerate scenes, not the whole video, which keeps every variation comparable.
- Scene 1 (hook): product-in-hand or clean pack shot with the hook line
- Scene 2 (benefit): text overlay plus a second product angle (zoom, rotate, macro)
- Scene 3 (proof): spec callout or review snippet that matches the page language
- Scene 4 (offer/CTA): product hero with CTA and brand colors locked
Accuracy guardrails that matter
Accuracy is the difference between “shippable” and “stuck in QA.” The guardrails that matter are brand consistency, claim matching, and scene-level checks you can run before export.
Lock Brand DNA first, approve the storyboard second, render third. That order prevents wasted credits and prevents off-brand drift across variants.
- Claims gate: every benefit line must be present on the product page, worded the same way
- Visual gate: packaging text, logo placement, and primary colorway match extracted assets
- Offer gate: only show discounts or price if it is on-page and current
- Compliance gate: avoid adding “before/after” or unverified performance promises in any scene
- Iteration rule: change one scene at a time (hook or proof), hold the rest constant for testing
When these gates pass, you can export and test with confidence instead of redoing the entire creative because one line was wrong.
Make it feel like an ad, not a floating product
What hooks work when you have zero footage?
You do not need motion footage to earn the first second. You need a hook that is specific enough to sound like it came from a real product page, then you build motion with typography, packaging crops, and one clear claim.
Operationally, treat scene one as a swap-only module. Keep scenes 2+ locked, regenerate only the hook, and read results in a 48-72 hour batch so your CTR signal is clean.
- Problem + specificity: name the use case and the constraint (size, time, skin type, room, device) in 7-10 words
- Mechanism: one line that ties the benefit to a tangible product feature pulled from the URL (spec, material, format)
- Outcome frame: “Before/after” language without visuals (time saved, steps reduced, fewer touchpoints)
- Offer-led opener: lead with “$5 trial” only when the rest of the ad supports it, otherwise it reads like a coupon
How do you add context, proof, and an offer safely?
Context, proof, and offer are where most photo-based ads get flagged. The fix is to separate what you know (pulled from the product page) from what you are implying, then QA each scene like a landing page.
Use one variable per test: either swap the proof scene (rating badge vs. short testimonial-style line) or swap the offer scene (trial vs. bundle), but do not change both in the same iteration.
- Context scene acceptance criteria: product name, who it is for, and the single primary claim match the URL copy
- Proof scene acceptance criteria: proof type is labeled (review count, rating, or testimonial-style statement) and does not add new claims
- Offer scene acceptance criteria: price/discount terms are exact, expiration language is removed unless verified, CTA is one action
- QA gate before export: claims, packaging text, and colorways match Brand DNA; no medical, performance, or compliance-sensitive overreach
Brand DNA keeps it consistent
Consistency is not a brand team preference, it is a performance control. IPA creative consistency research found the most consistent brands were expected to drive 2x more effective market share growth after 5 years versus the least consistent brands, based on analysis of 4,000+ ads from 56 brands.
In practice, Brand DNA is your guardrail: lock voice, colors, product facts, and allowable claims once, then produce variants by regenerating a single scene at a time. We built Advertisable AI around that workflow so your variations stay recognizable while you iterate.
- Hold constant: logo placement, color palette, product naming, and claim language pulled from the URL
- Change on purpose: hook wording in scene one, proof format in one dedicated scene, or offer framing in the final scene
- Pass/fail check: if the ad could be for a competitor after you remove the logo, it is not specific enough
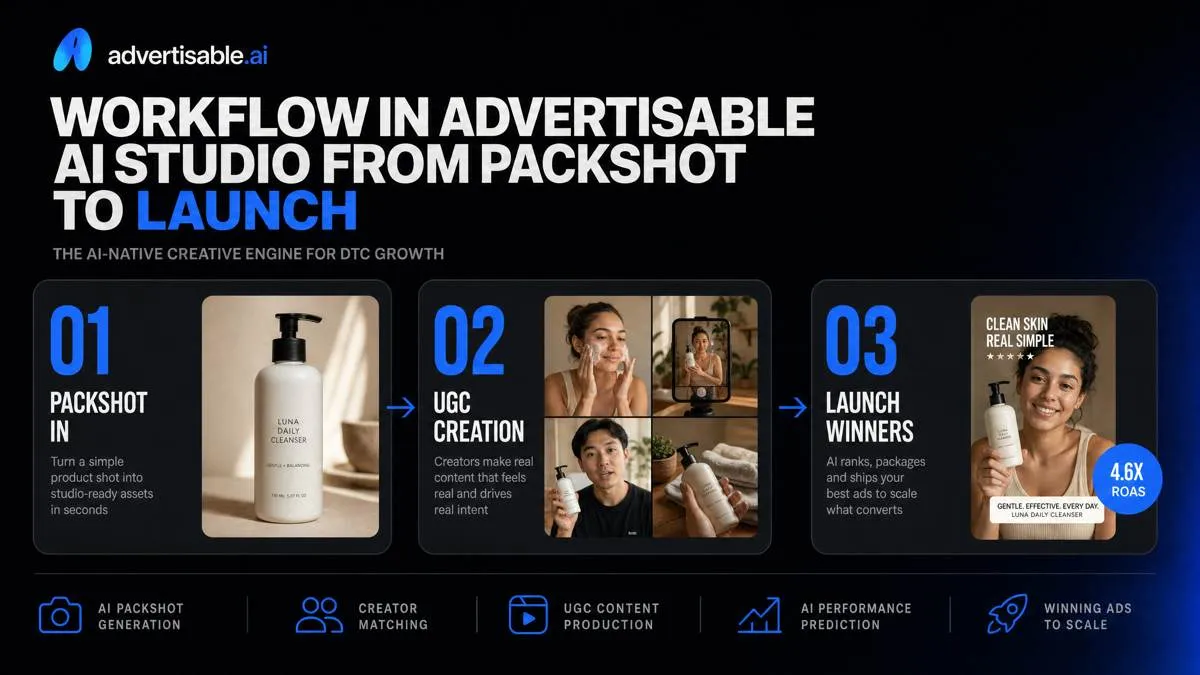
Workflow in Advertisable AI Studio from packshot to launch
Import and lock Brand DNA
Lock Brand DNA before you generate anything else, or you will spend your iteration budget fixing brand drift and claim errors. In Advertisable AI Product Ads, you start from the product URL so packaging, specs, and on-page claims become the default guardrails.
Our acceptance criteria is simple: every scene must keep the same voice, colorway, and product facts as the source page. Once Brand DNA is locked, variations inherit it, so your changes stay deliberate and auditable instead of spreading inconsistencies across 20 outputs from one prompt.
- Import: paste the product link to pull product visuals, labels, specs, and claims
- Lock: set brand voice and visual rules (colors, logo usage, do-not-say claims) at the account or project level
- QA gate: verify packaging text is readable, claims match the page, and no extra benefits are introduced
Storyboard approval before rendering
Approve the storyboard before you render because structure problems are expensive to fix after the video is generated. You are checking sequencing and compliance at the scene level, not debating cinematics.
In practice, we want sign-off on three items: the hook says the intended angle, the proof scene supports the exact claim, and the CTA matches the landing page. This is also where you catch “looks generic” issues early by tightening the language to product-specific facts pulled from Brand DNA.
Treat the storyboard as a lightweight approval artifact: once it is approved, rendering is execution, not discovery.
- Scene order is final (Hook -> Benefit -> Proof -> Offer/CTA)
- Any required disclaimers or claim qualifiers are present in the correct scene
- No scene introduces a new claim that is not supported by the product page
Regenerate only scene one variants
For clean A/B tests, regenerate only scene one (the hook) and hold every other scene constant. That keeps your variable isolated, so performance differences map to the hook, not to a reshuffled proof or a different CTA.
We typically ship 3 hook variants in a single batch, then read results over 48-72 hours. Your decision rule is operational: keep the winning hook, then move to the next single-variable test, without touching scenes two through end unless QA flags a factual issue.
- Variant A: benefit-first hook tied to a specific spec
- Variant B: problem-solution hook that names the use case directly
- Variant C: offer-led hook (price, bundle, limited-time) that stays consistent with the landing page
Turn your one photo into shippable variations fast
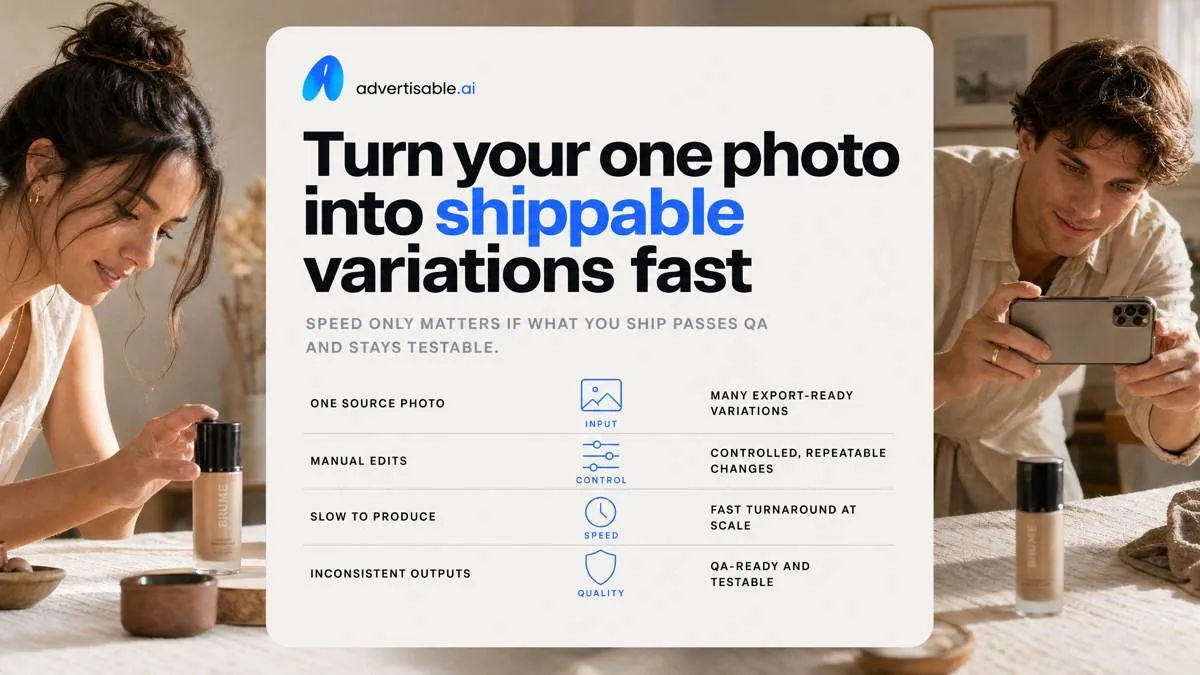
Speed only matters if what you ship passes QA and stays testable. The workflow below turns one product visual into controlled, export-ready variations without redoing the whole ad.
Start from a product URL or a single photo
The fastest path to a usable product ad is starting from a product URL, because you get packaging visuals plus the exact specs and claims you are allowed to say. When you only have a photo, you can still generate, but your QA burden increases because the model is missing verified product facts.
Operationally, the URL route is how you keep production deterministic: it reduces manual copy-paste, reduces claim drift, and gives you better inputs for multiple angles from the same base asset.
- Use a product URL when you need the tool to pull packaging, labels, specs, and on-page claims into the creative inputs
- Use a photo when the product page is not final yet, but set a stricter QA gate for any on-screen text and voiceover claims
- Acceptance criteria before you render: correct product name and variant, no invented ingredients/specs, packaging visuals match the listing
Lock Brand DNA, then approve the storyboard before you render
Brand DNA plus storyboard approval is your control layer: it is what lets you iterate fast without shipping off-brand colors, wrong claims, or a structure your team will reject. Approve the scene-by-scene plan first, then render only after it clears your QA gates.
We run this as a storyboard-first workflow in Advertisable AI: lock Brand DNA once, generate a storyboard, get sign-off, then produce variations by changing one scene at a time. That keeps tests clean and readouts usable inside 48-72 hours.
QA checks we do at the storyboard stage are simple: every claim maps to the product page, the visual language matches brand rules, and only one variable changes between variants (usually the hook).
- Hold constant: Brand DNA, offer terms, proof elements, and CTA
- Change per batch: Scene 1 hook (3 versions), or swap only the proof scene while keeping the hook identical
- Export readiness gate: safe margins for captions, legible packaging, no cropped logos
Use the $5 3-day trial to ship your first variant set
A $5 3-day trial is enough time to prove you can go from one input to a small set of shippable variations and a real test. The objective metric is not “number of renders,” it is “number of ads that pass QA and launch.”
Set a tight scope: one SKU, one angle, three hook variants. After 48-72 hours of delivery, keep the winning hook and only regenerate the next single variable you want to test.
- Day 1: paste URL (or upload photo), lock Brand DNA, generate and approve storyboard
- Day 2: render 3 variations that only differ in the hook scene; export in 9:16, 1:1, 16:9
- Day 3: launch, review early signals, and decide the next scene to regenerate (hook, proof, or offer) based on what failed or won
Ship photo-to-video ads with control, not re-renders
If your last photo-to-video attempt looked generic or got blocked on claims, you do not need more realism. You need a tighter system that holds brand and facts constant while you iterate scene by scene.
With our Advertisable AI Product Ads, you paste your product URL to extract packaging, specs, and approved claims, then lock Brand DNA as your guardrails. Generate a storyboard first, get sign-off, and only then render.
Next, batch your variants as single-variable tests. Regenerate only scene one to create three hook options while you keep proof, offer, and CTA scenes unchanged. Run a 48 to 72 hour readout, pick the winner, and scale the same structure across placements.
Export in 9:16, 1:1, and 16:9 for Meta, TikTok, and YouTube, and launch today.
Frequently Asked Questions
### What's the difference between 'cost per video' and 'cost per shippable variation'?
Cost per video is just the render. Cost per shippable variation is the full operational unit you care about in paid social: storyboard approval, scene fixes, QA checks, and exports that actually pass review and launch.
### How do I ensure my AI-generated ads don't drift off-brand across multiple variations?
Lock Brand DNA first so every variation inherits the same visual rules, voice, and product facts. Then QA each scene against the product page for claim accuracy and against your brand guardrails before export.
### Can I test multiple hooks without rebuilding the entire video?
Yes. Use scene-level control to regenerate only the hook scene while you hold the rest of the storyboard constant, so your test stays clean and you do not pay for unnecessary re-renders.